Equipment
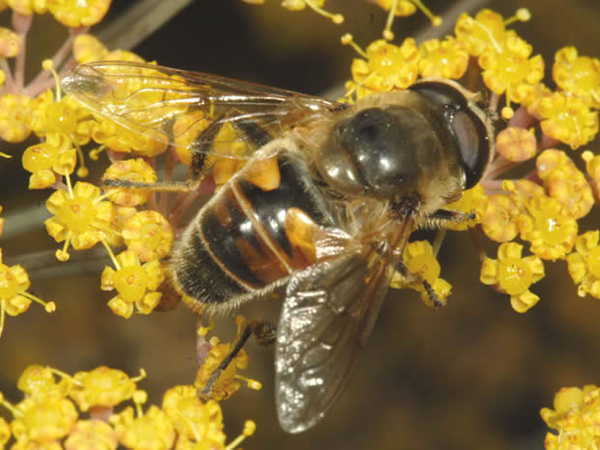
Drone fly (Eristalis tenax)
Camera - Canon 350D Digital with macro lens and twinflash unit
The instructions below are taken from the Standard Operating Procedures for camera use for the Landcare Research New Zealand Community Pollination Project.
Preparation
Ensure your camera bag has everything you need before you g out into the field. Be sure to prepare the batteries for the camera and the flash on the night before. Carry lots of spare alkali batteries (in your trouser pockets so they stay warm) with you for the flash. This is important especially for night photography as more power is used to run the flash at night.
Camera settings
- Set the camera to manual by putting the dial at “M” because you need to control the focusing yourself. For macro photography, auto-focus is hopeless and with aperture priority (AV) the shutter speed will be too slow to capture the action that the flash reveals.
- Manually set the aperture to F22 during the day and F16 at night.
- On a sunny day set the shutter speed to 1/125, on a cloudy day set it to 1/60 and at night set it to 1/125 (when the aperture is more open at F16). Slowing down the shutter speed will give a better background, but if the shutter speed is too slow you will get a blurry image due to movement. At F16 the depth of field will be big but you will need the flash to get enough light. The depth of field is longer behind the focal point, about 2/3 behind that point and only 1/3 in front. Focus on the insect eyes to handle this.
- Metering mode in the camera menu should be set at “program”. This will read from the image and balance the metering for you using the camera’s program.
Flash settings
- When you assemble the twin flash onto the mounting ring, put the “A” flash unit at 11:00 o’clock as the “sun” position and the “B” flash unit at around 3:00 o’clock to “fill” in the shadows. Ensure the flashes are clipped in place.
- The main flash unit slides into the mount on the top of the camera body. Turning the plastic ring at the base of the flash unit secures it in place.
- You can set the A and B flash units at a 1:1 ratio, or a 2:1 ratio, which gives you twice as much light from the “sun” position than the “fill” position. However, if there is a big leaf is in the way then you can turn the whole set up on the ring or move the flashes individually to get the light in a better position.
- Adjust the tilting angle of the flash depending on how far away your camera is to the subject in order to take the photo with the flower and the insect filling the screen. For a big insect you will be farther away so tilt them less. For a small insect you will be closer so tilt them more.
- Set the flash on ETTL = electronic through the lens.
Taking the shot
- Stand with one leg forward and one leg back so you have a triangle for steadiness.
- Keep your elbows loosely to your sides for support. Not too tight because your heartbeat and breathing will move the camera, but not so relaxed that you do not get any support or stability.
- Do a coarse focus by turning the lens, then rock back and forth to do the fine focus. Do not adjust the fine focus by turning the lens. Instead, move in and out by rocking back and forth until you see the insect come into focus.
- If you are unable to focus and find that you have lost the focus area then take the lens down to a lower magnification, focus and move back up.
- Take several shots from several angles so that we get all the pollinator 'fit' information. For example, how does their tongue fit in the flower, what part of their body brushes the anthers? What part touches the stigma? One good image for every 10 you take is a good result!
- Shoot all the photos in digital RAW using an ISO of 200. If you use an ISO of 300 to 400 it gets too grainy.
- Be sure to have a UV light filter on the lens to protect it from damage as macro lenses are very delicate.
- All images should be saved - they may be the only record we have of a particular interaction
Kestrel 4000 pocket weather tracker
The Kestrel 4000 pocket weather tracker is used by the Landcare Research New Zealand Community Pollination Project to record weather data while collecting insect visitation data.
Weather data recorded
- temperature (degrees Celsius)
- wind speed (metres per second)
- relative humidity (percent)
- atmospheric pressure (HectoPascals)
Insect equipment
Insect voucher specimens are caught either directly into wide-mouth kill jars, or trapped in a net before being transferred to a kill jar. The kill jars use ethyl acetate (absorbed into a plaster of Paris layer at the base of the jar) to incapacitiate insects, which are then placed in a freezer until they can be pinned.
A selection of insect equipment can be purchased through Australian Entomological Supplies.
Insect curation follows Walker, A.K. & Crosby, T.K. 1988. The preparation and curation of insects. DSIR Information Series 163. Science Information Publishing Centre, DSIR, Wellington, New Zealand. 91p.